| images | ||
| .DS_Store | ||
| README.md | ||
⚠️ Example moved to https://professional-service.git.onstackit.cloud/professional-service-best-practices/professional-service
Guide: BYOL Migration to STACKIT
This document provides a migration path for your custom-built Windows Server VM (Bring Your Own License) from a local virtualization environment (e.g., Hyper-V / VirtualBox) to the STACKIT cloud platform.
The detailed process ensures technical compatibility through the integration of VirtIO drivers and the conversion of disk images. Following these steps allows you to use your own Windows licenses within the STACKIT cloud.
Prerequisites
To successfully complete this workflow, you need access to the following tools and resources:
- STACKIT Windows VM (Recommended Sizing)
- Flavor G2i.8
- Disk OS Perf6 - 64GB
- Data/Image Disk Perf10: 100GB
- Hyper-V: Install as a virtualization platform via the Windows Role/Feature (e.g., via Server Manager).
- Qemu-img: https://www.qemu.org/download/#windows
- STACKIT CLI: https://github.com/stackitcloud/stackit-cli/releases
- Virtio Drivers: https://fedorapeople.org/groups/virt/virtio-win/direct-downloads/archive-virtio/?C=M;O=D
- Cloud-base Init: https://github.com/cloudbase/cloudbase-init/releases
Step-by-Step Migration
-
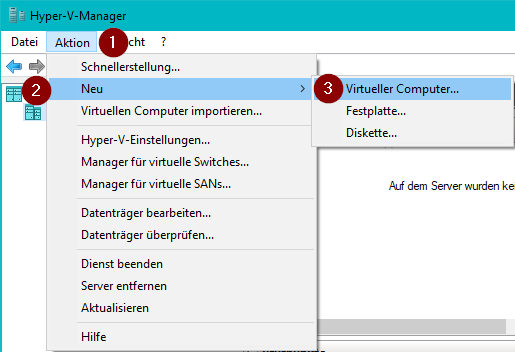
Set up a new VM: Action (Aktion) → New (Neu) → Virtual Machine (Virtueller Computer)
-
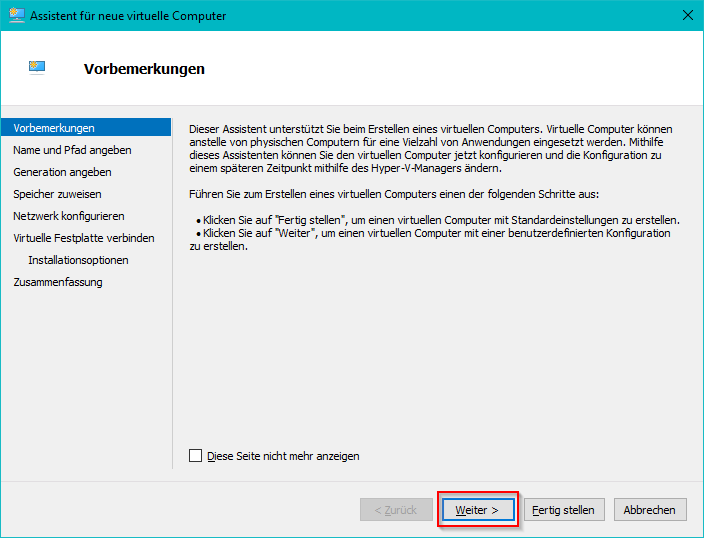
Click Next (Weiter)
-
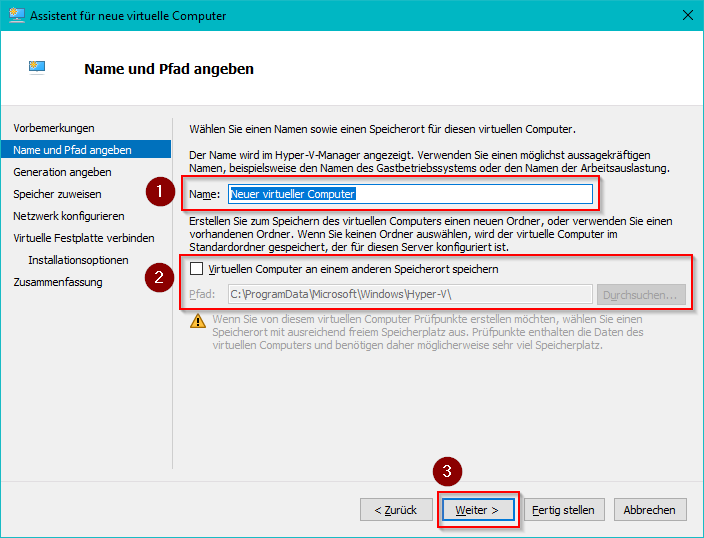
Specify Name and Location: Enter the name of the new VM and, if necessary, a different storage location → Next (Weiter)
-
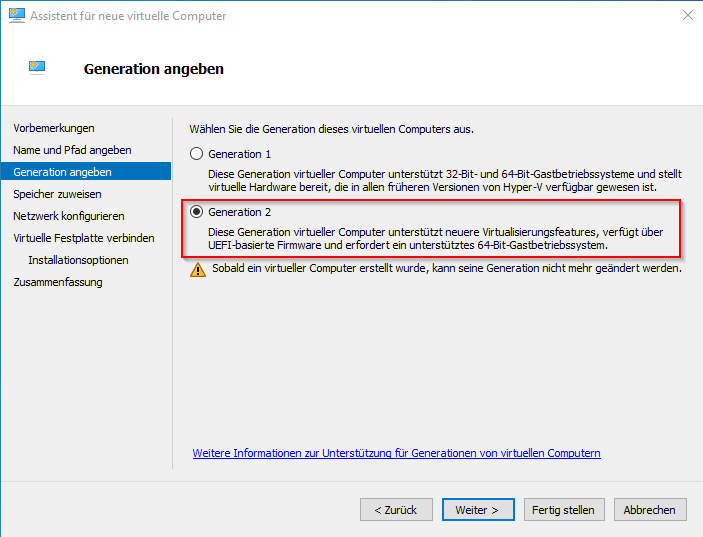
Select Generation 2
Note: With Generation 2, you must manually press "Any Key" during startup to boot from the ISO image. If you miss this moment, the installation routine will not start!
-
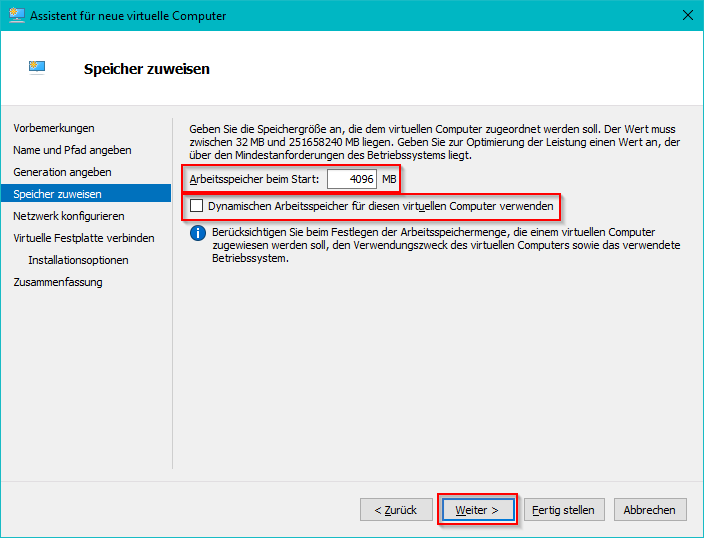
Assign Memory: Startup memory (Arbeitsspeicher beim Start) → Enter value as needed (e.g., 4096 MB). Uncheck the box: Use Dynamic Memory for this virtual machine (Dynamischen Arbeitsspeicher für diesen virtuellen Computer verwenden)
-
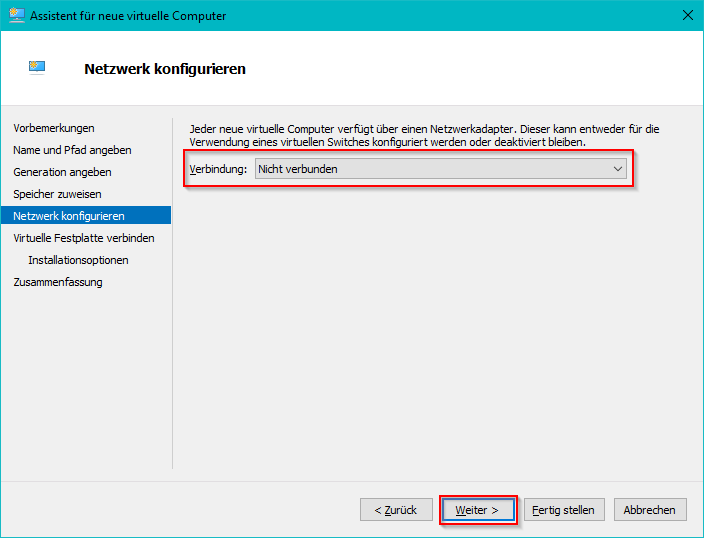
Configure Networking: Connection (Verbindung) → Not Connected (Nicht verbunden)
-
Connect Virtual Hard Disk: Define Name, Location (Pfad), and Size (Größe)
The configured size corresponds to the minimum volume size of the future server in STACKIT.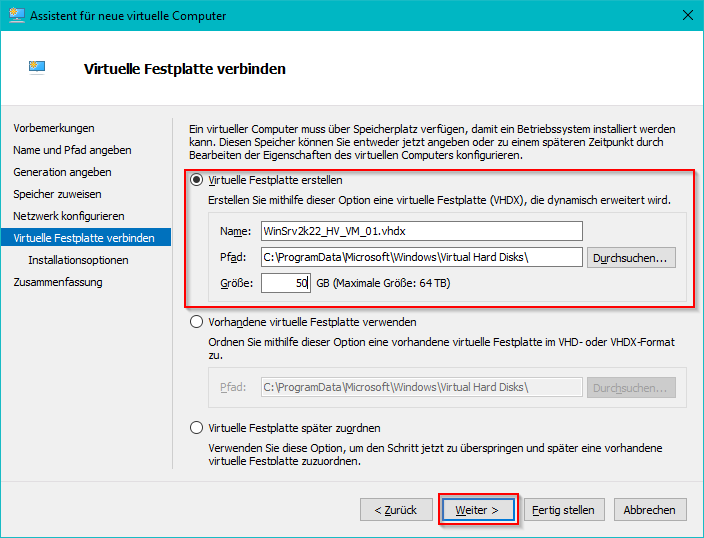
-
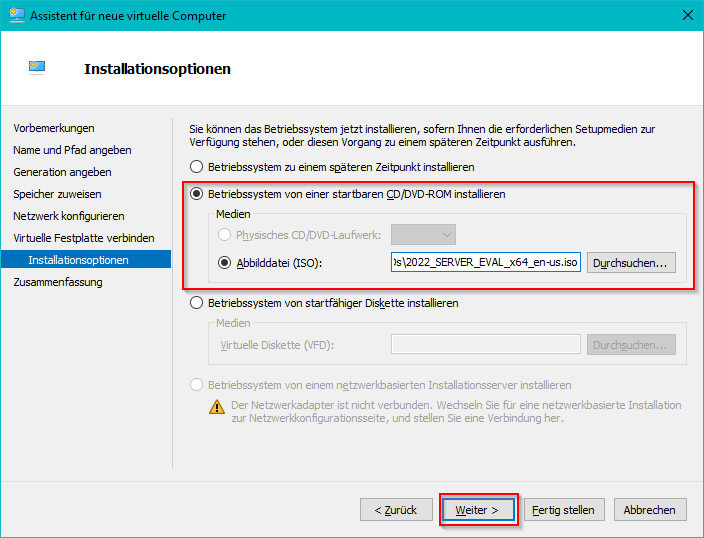
Installation Options: Install an operating system from a bootable CD/DVD-ROM (Betriebssystem von einer startbaren CD/DVD-ROM installieren) → Select Image file (Abbilddatei (ISO)) and use Browse (Durchsuchen) to select the required ISO image.
-
Finish the New Virtual Machine Wizard: Click Finish (Fertig stellen)

-
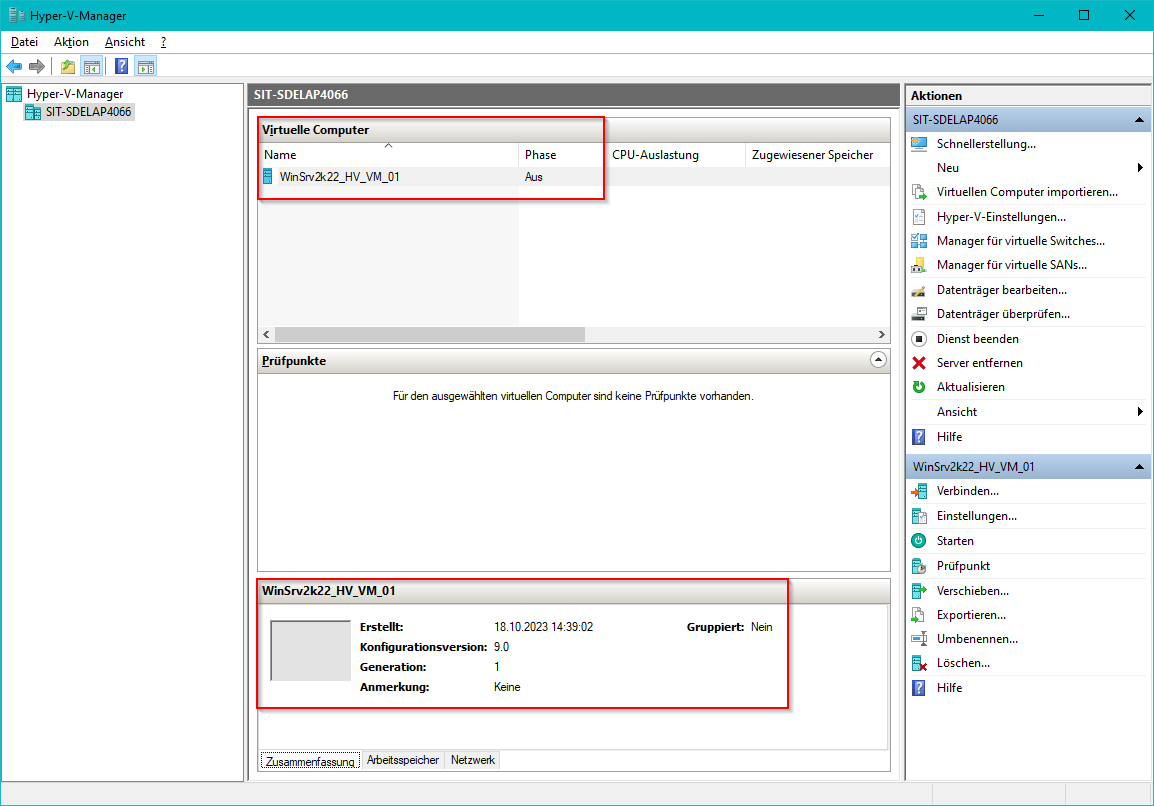
Hyper-V Manager view after creating the new VM
-
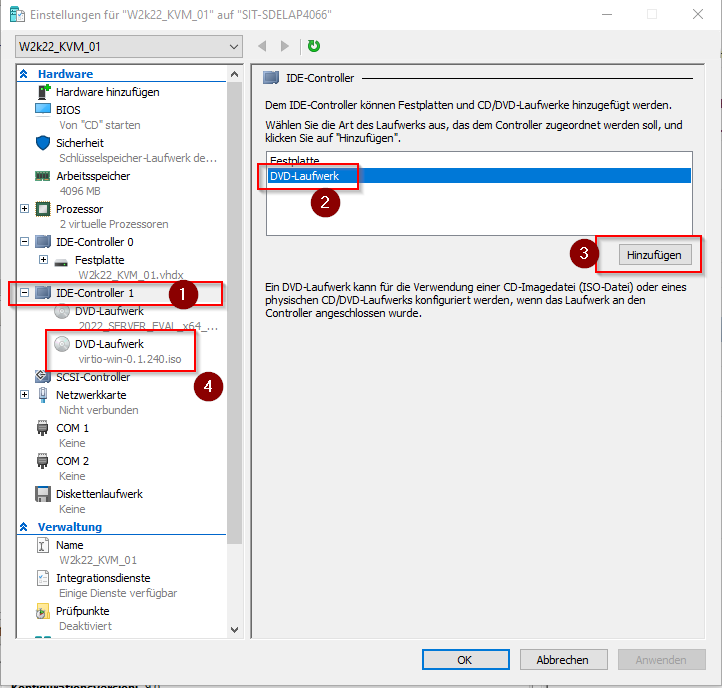
Attach the Virtio drivers via ISO:
-
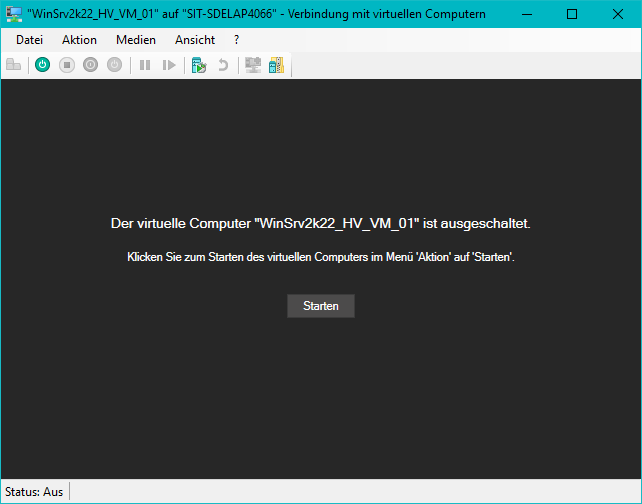
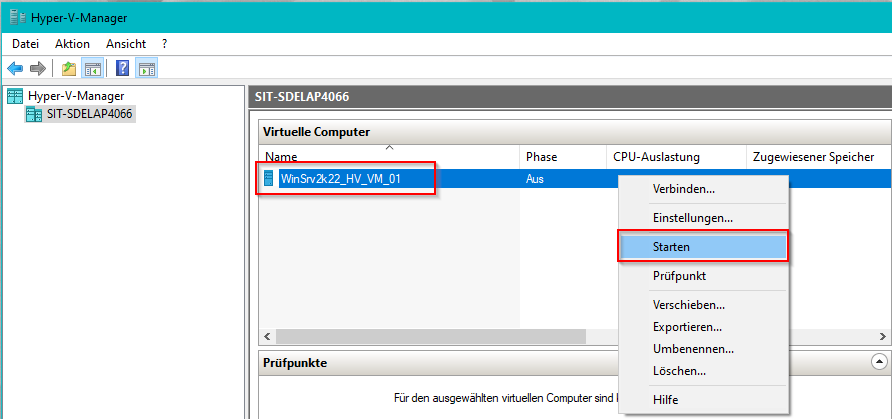
Click Connect (Verbinden) to the new VM

-
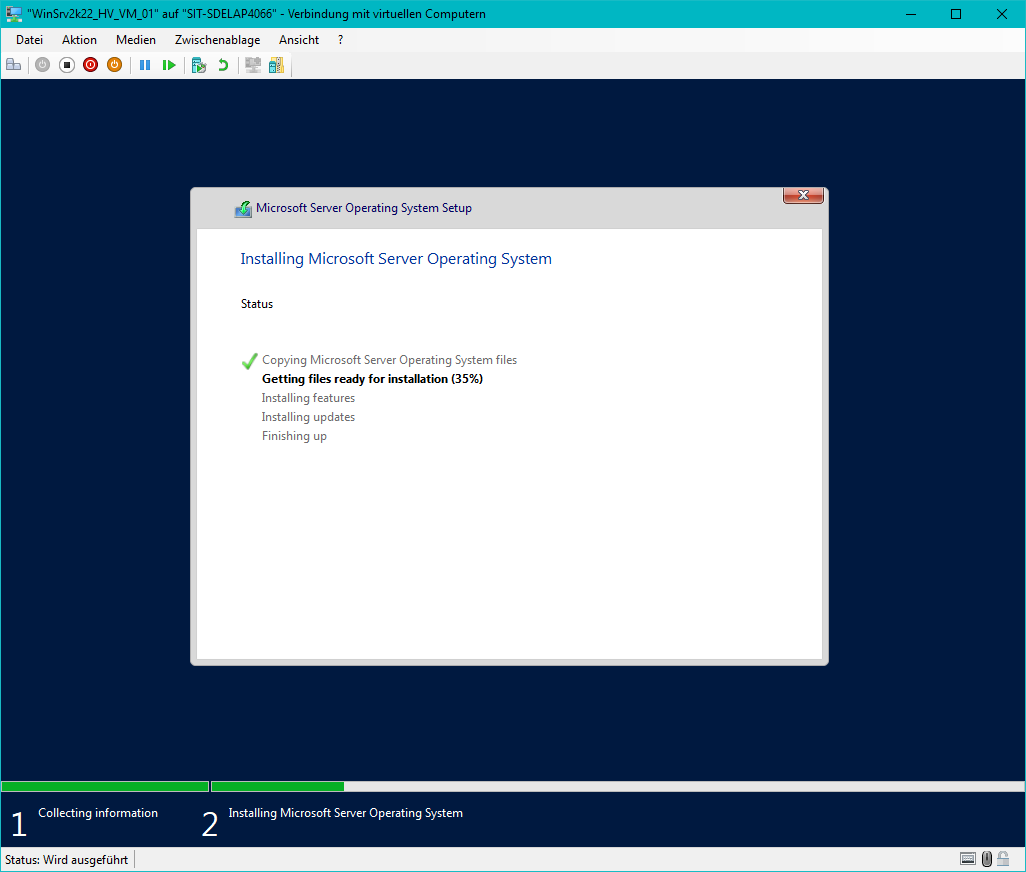
Start the new VM for the first time and perform the OS installation
-
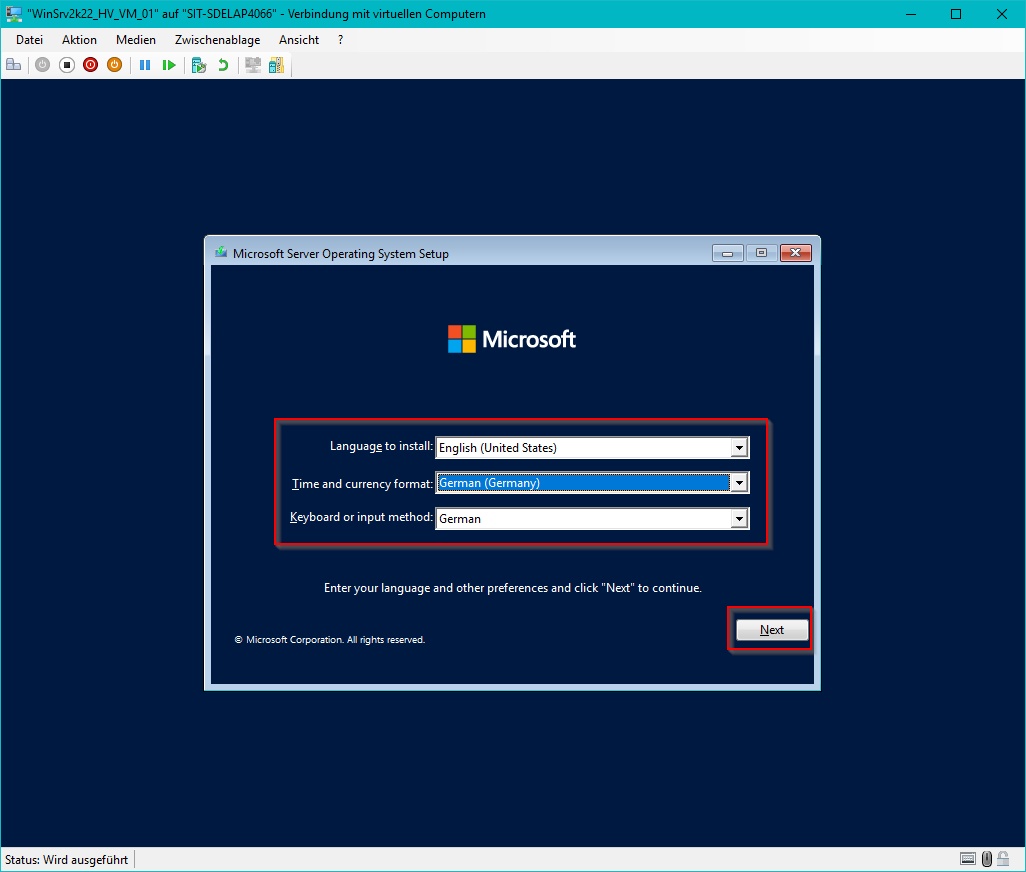
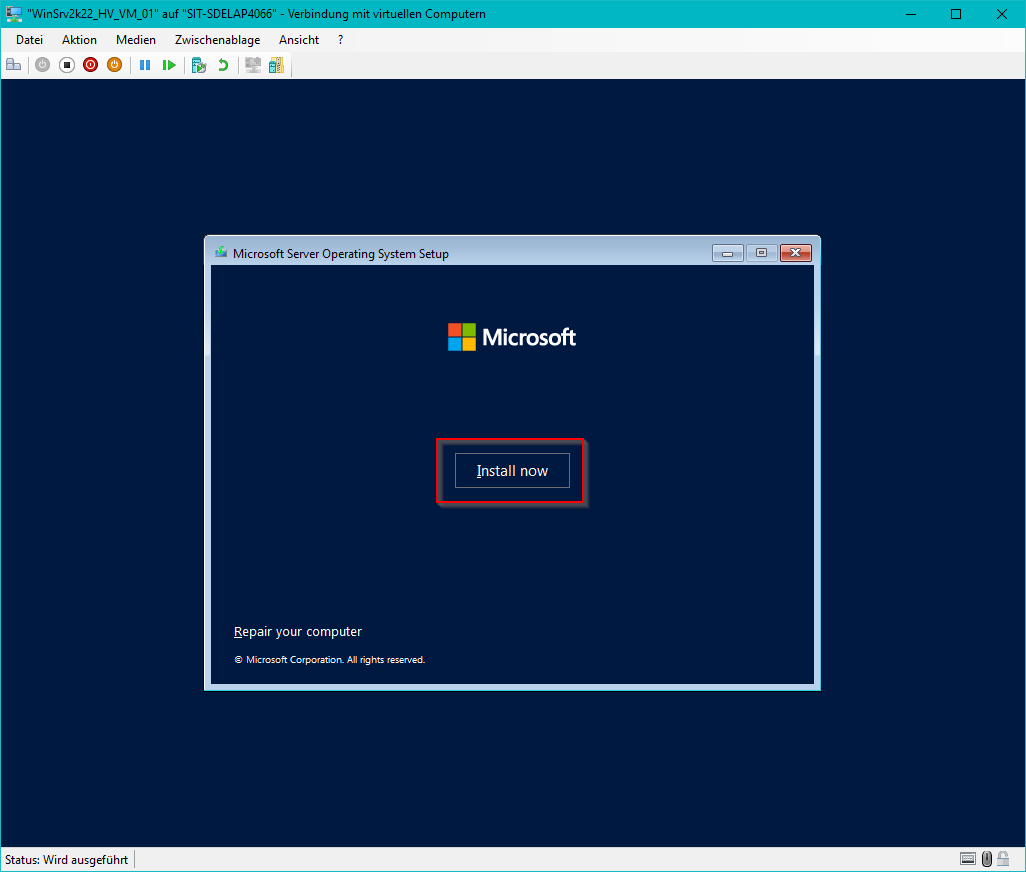
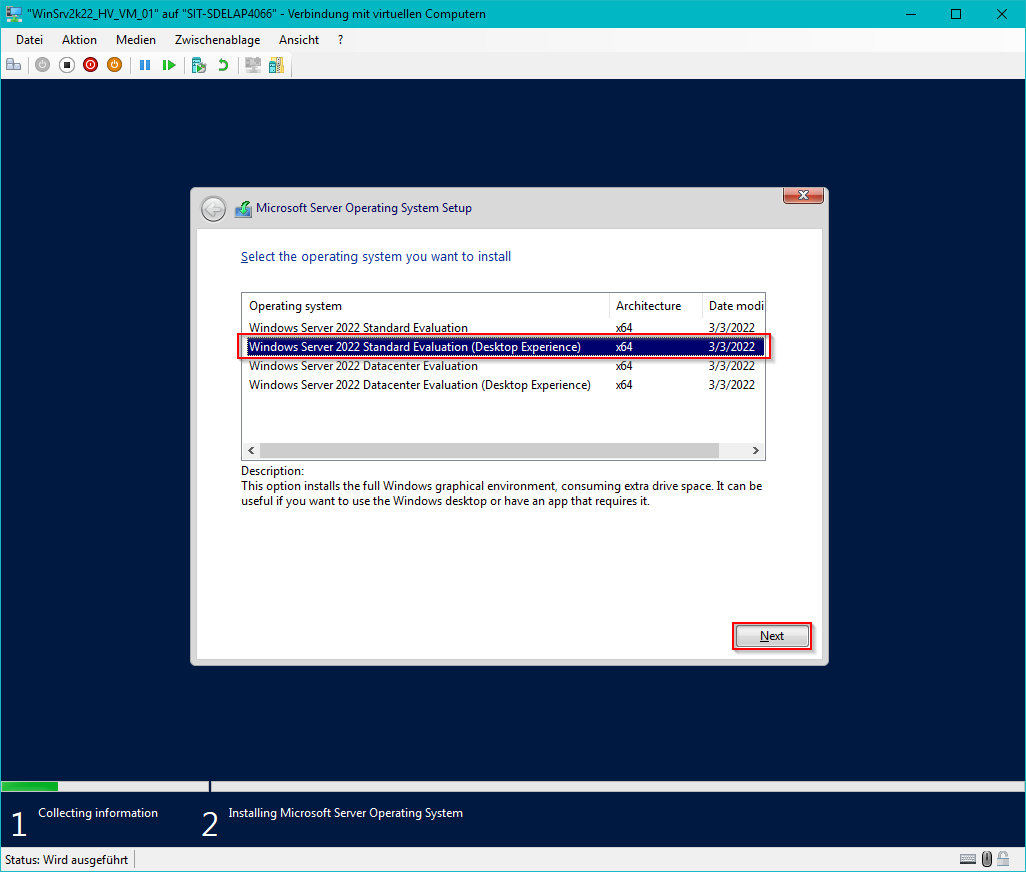
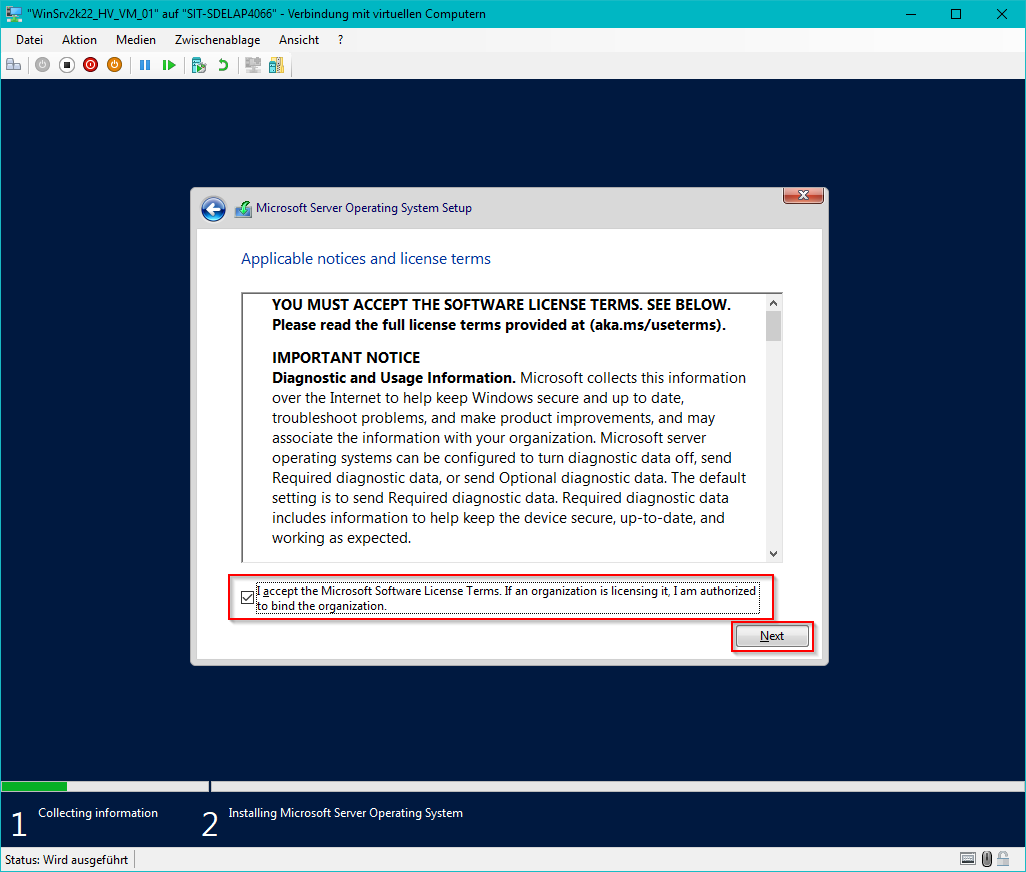
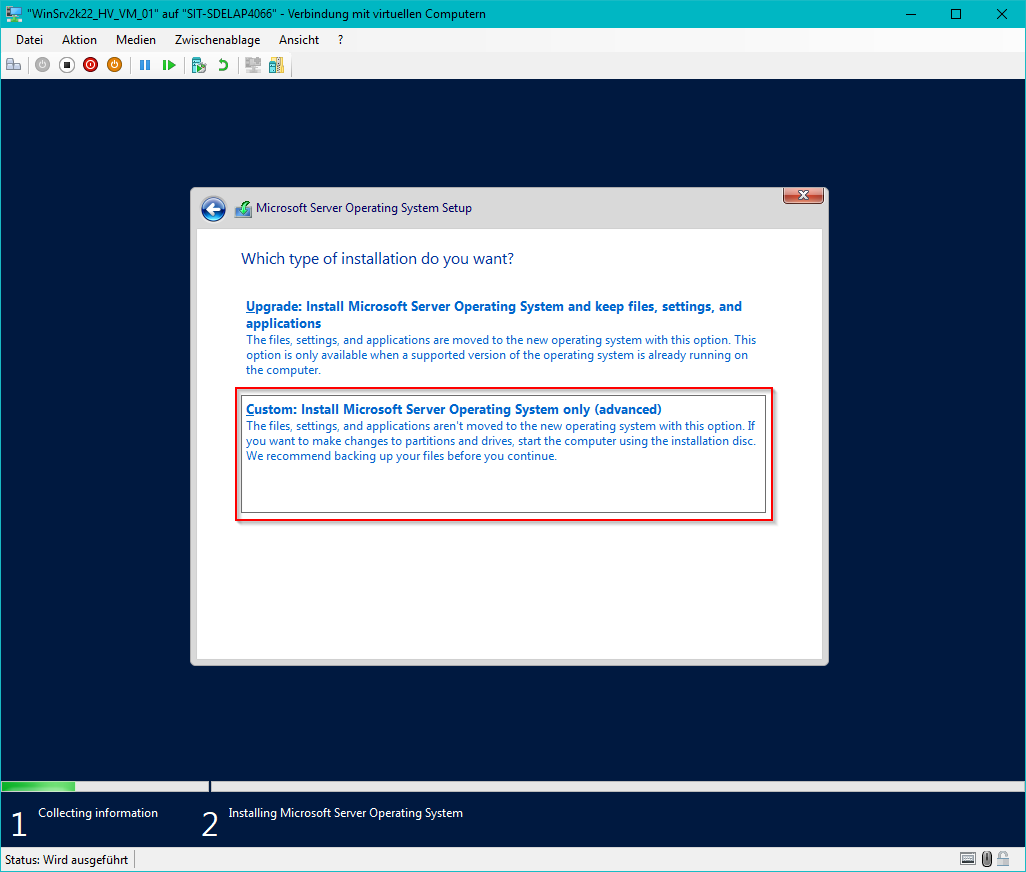
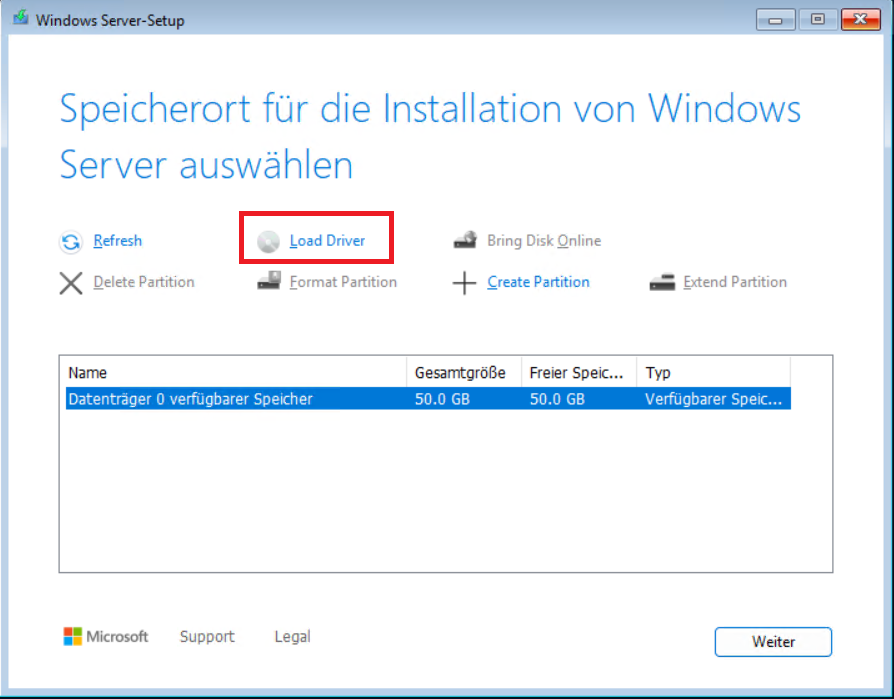
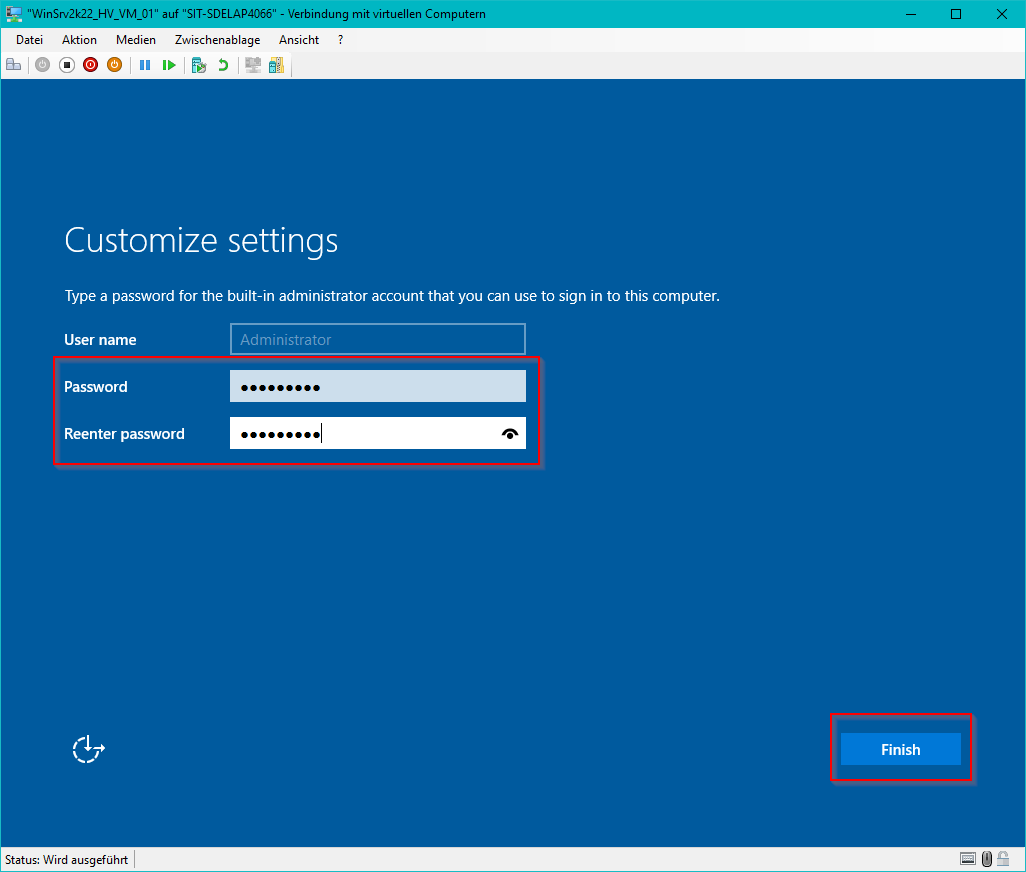
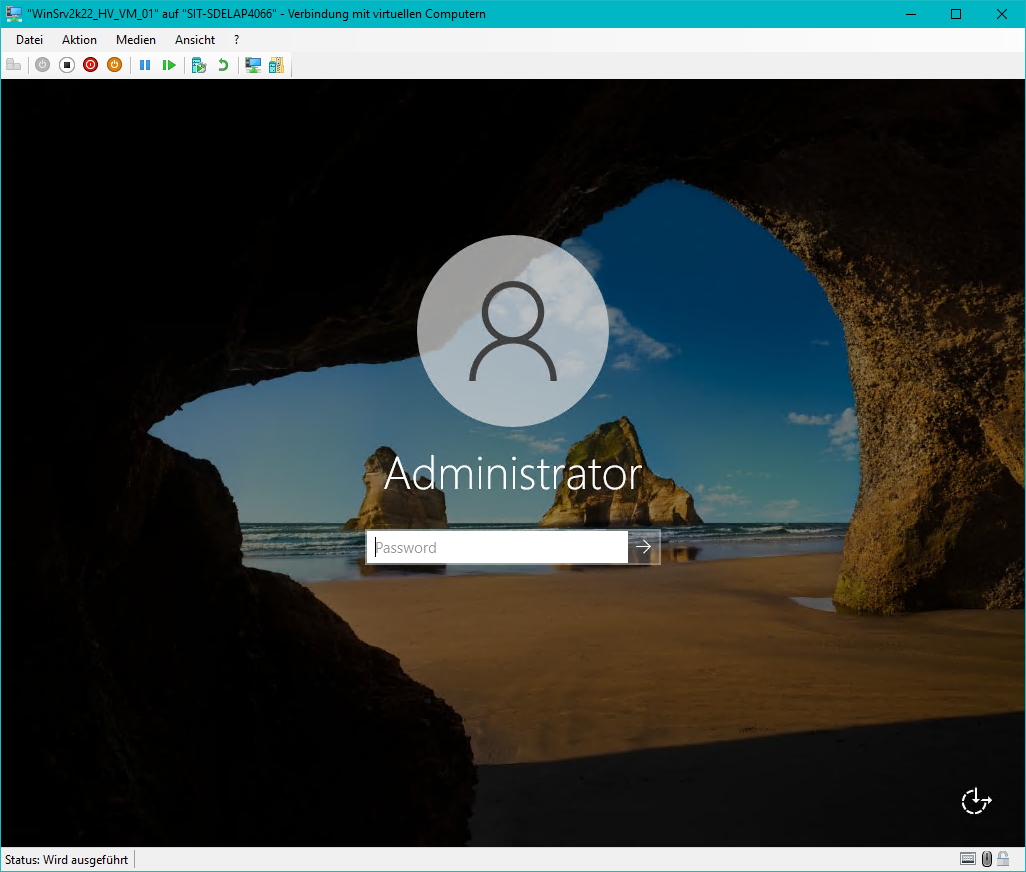
Perform Windows Server Setup (Screenshots based on Windows Server 2022):
-
-
-
-
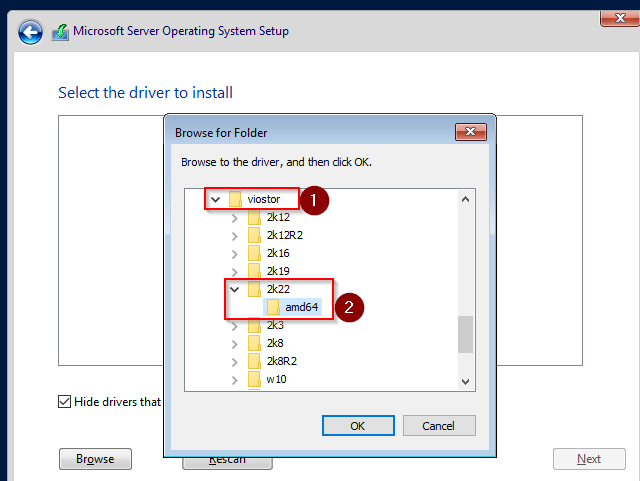
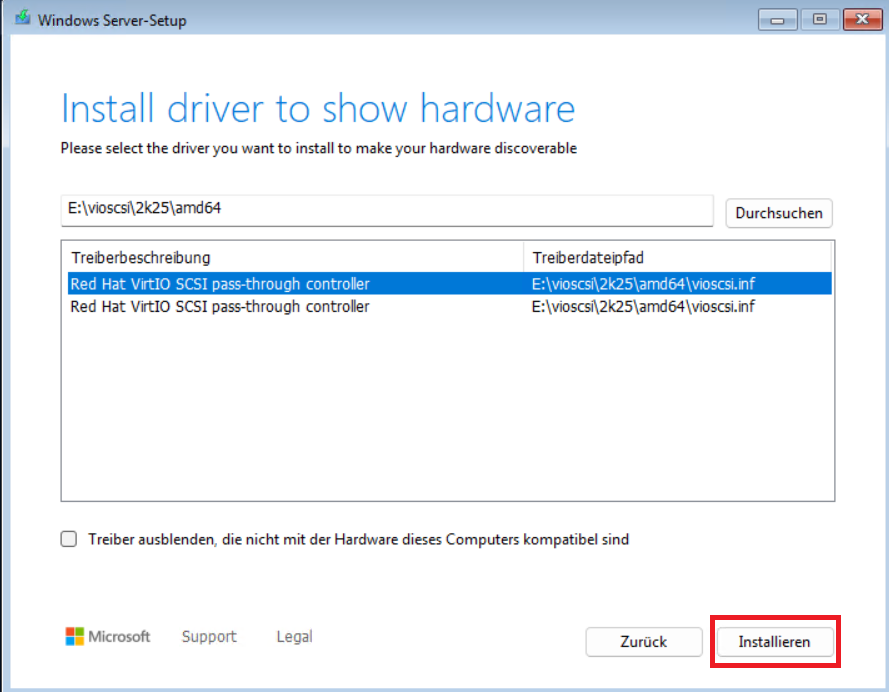
Use the Load Driver (Treiber laden) selection
-
Installation of three Virtio drivers is now required so the image can be used on the STACKIT Hypervisor:
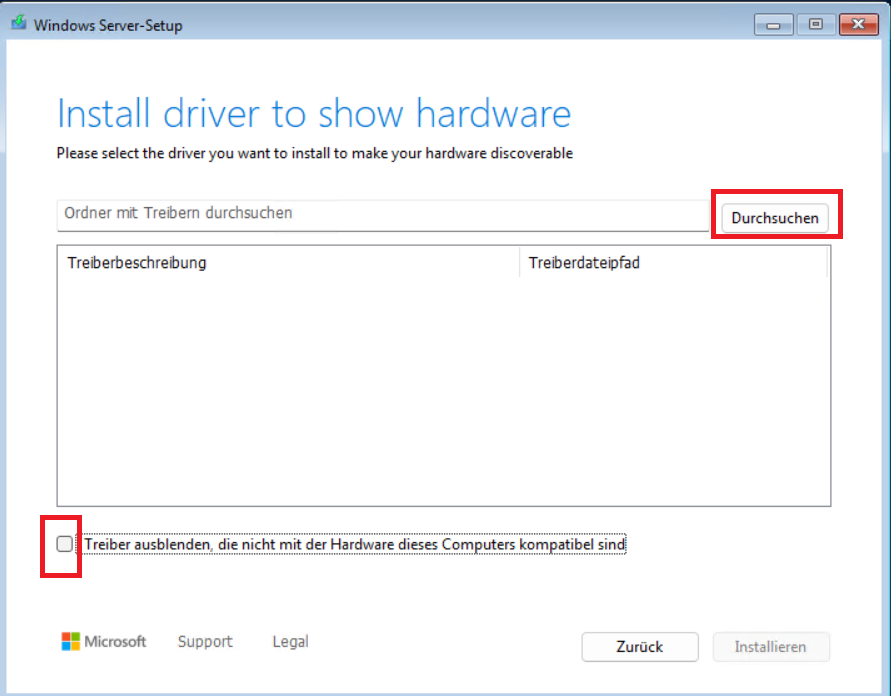
NetKVM Driver
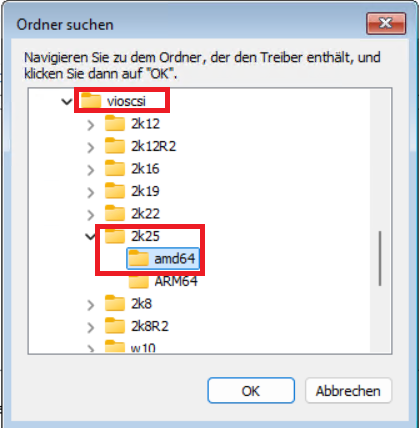
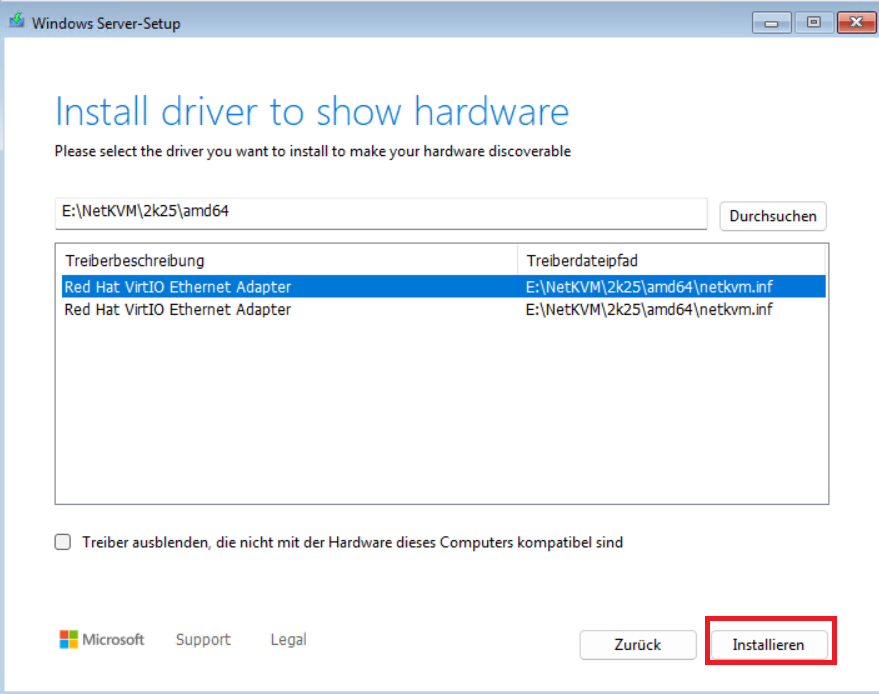
Viostor

Vioscsi
-
-
-
-
Display Configuration

-
The two Virtio packages (virtio-win-gt-x64.msi and virtio-win-guest-tools.exe) from the Virtio ISO file should now be installed. It is also recommended to copy the content of the Virtio ISO file to the new system (e.g.,
C:\temp\virtio\). This has the advantage of being able to reinstall drivers relatively easily later. -
Delete the Windows Recovery Partition This step is mandatory so that the volume of the future server on STACKIT can be flexibly expanded.
| Step | Command | Details / Notes |
|---|---|---|
| 1 | diskpart |
Starts the partitioning program. |
| 2 | select disk 0 |
Selects the hard disk. Be sure to check if Disk 0 is correct! |
| 3 | list partition |
Displays all existing partitions. |
| 4 | select partition <nr> |
Select the number of the Recovery partition. |
| 5 | delete partition override |
Forces the deletion of the partition. |
| 6 | list partition |
Check if the partition was successfully removed. |
-
The Windows system can now be customized with individual software and prepared for the future image.
-
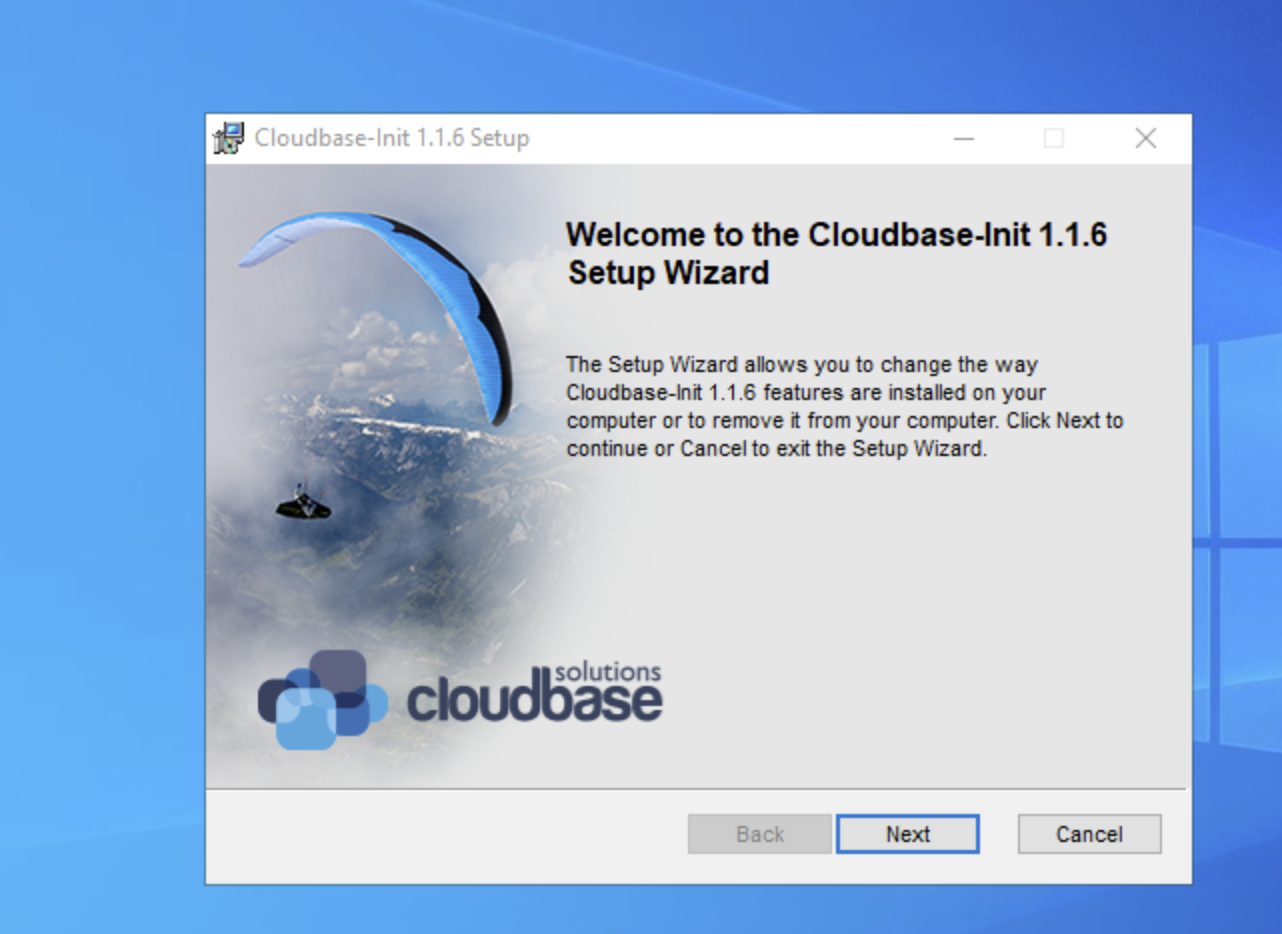
Finally, run the Cloudbase-init Tool on the Windows VM to bring Windows into the final starting position for the move to the STACKIT Cloud!
-
Start Cloudbase-Init Setup
-
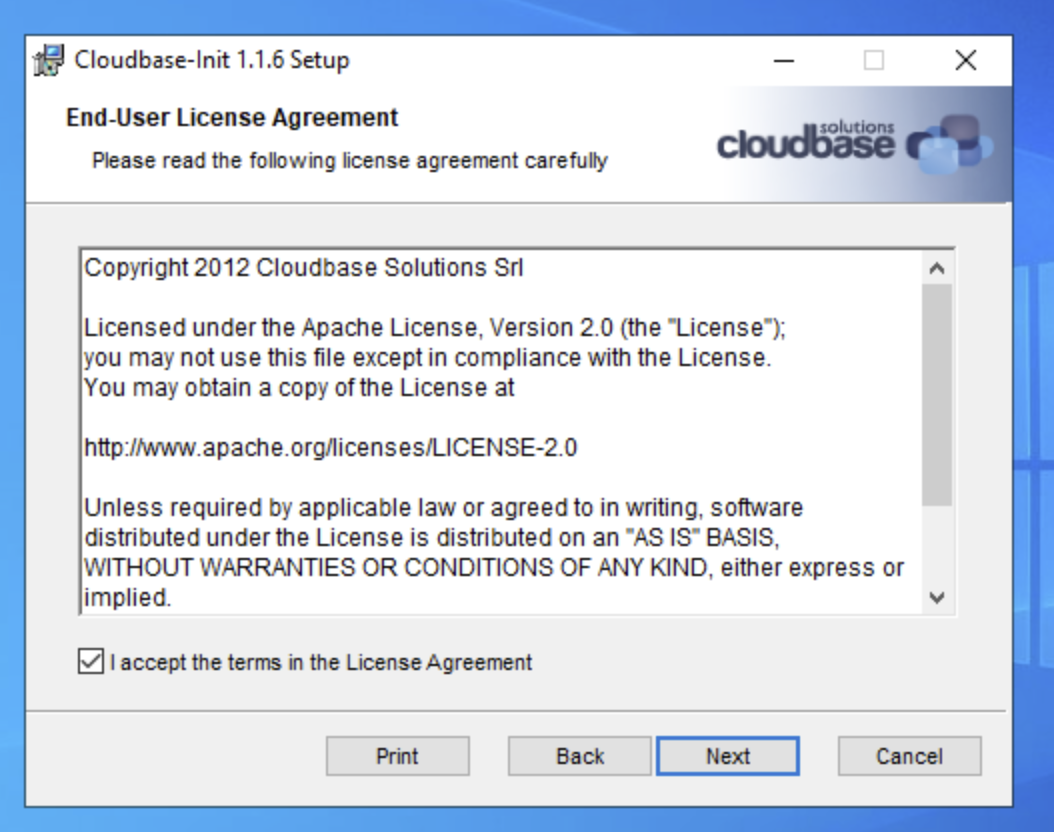
Agree to the License Agreement (Lizenzvereinbarung)
-
Confirm Setup Type
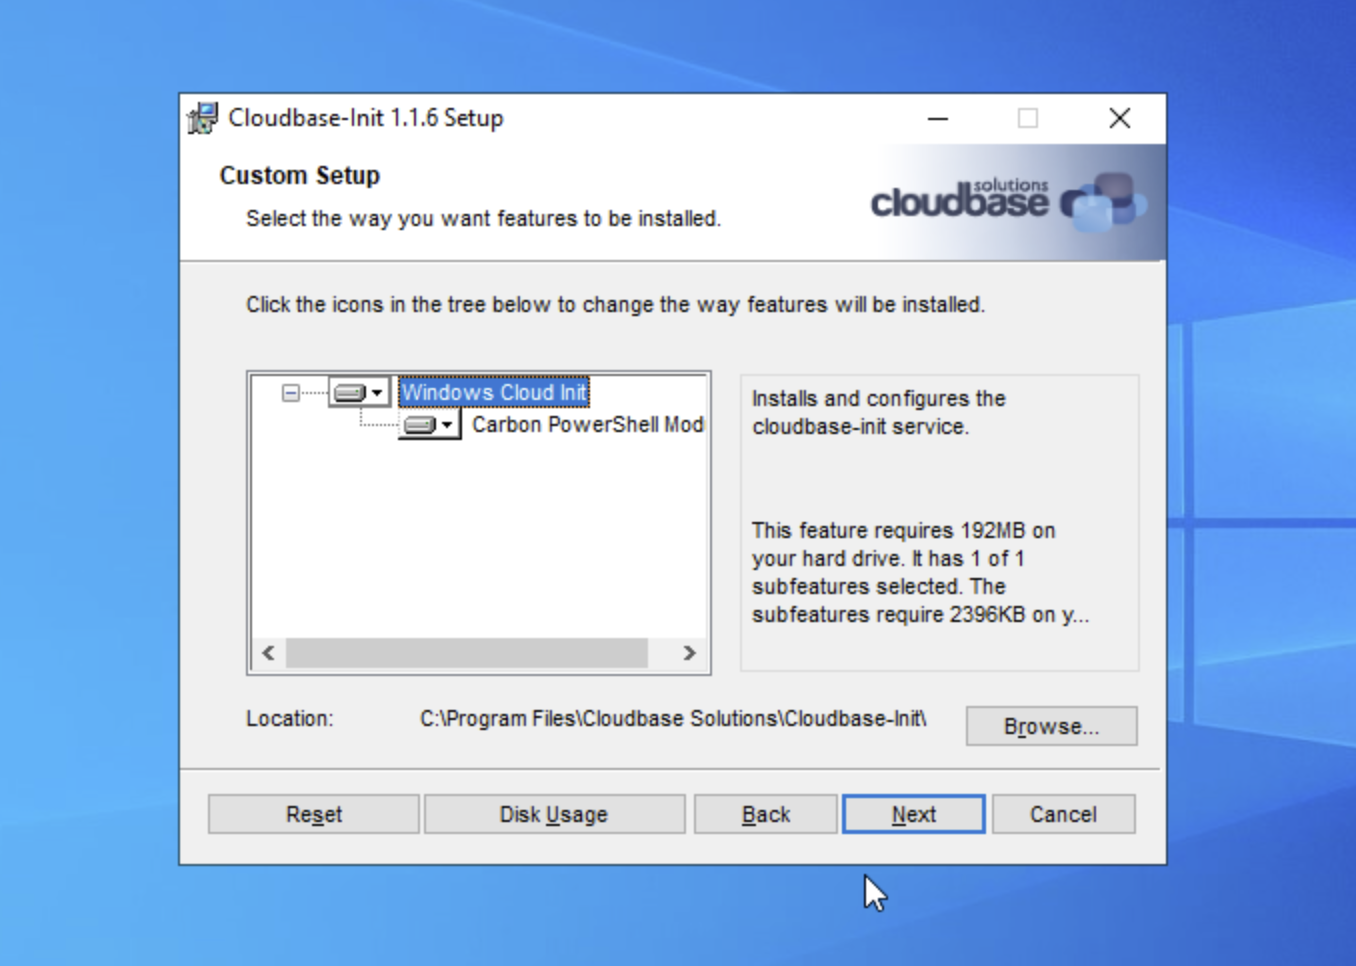
-
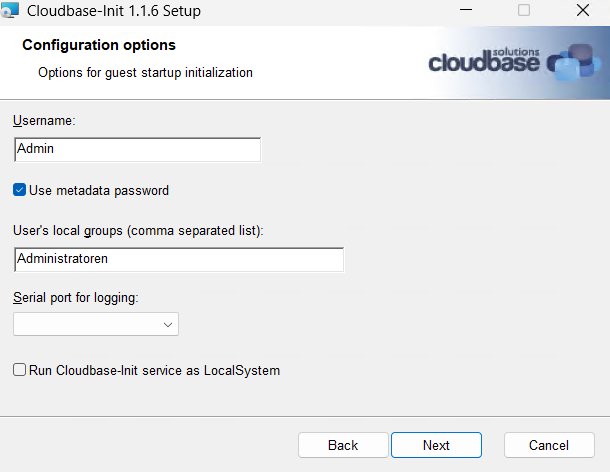
Define Configuration Options
-
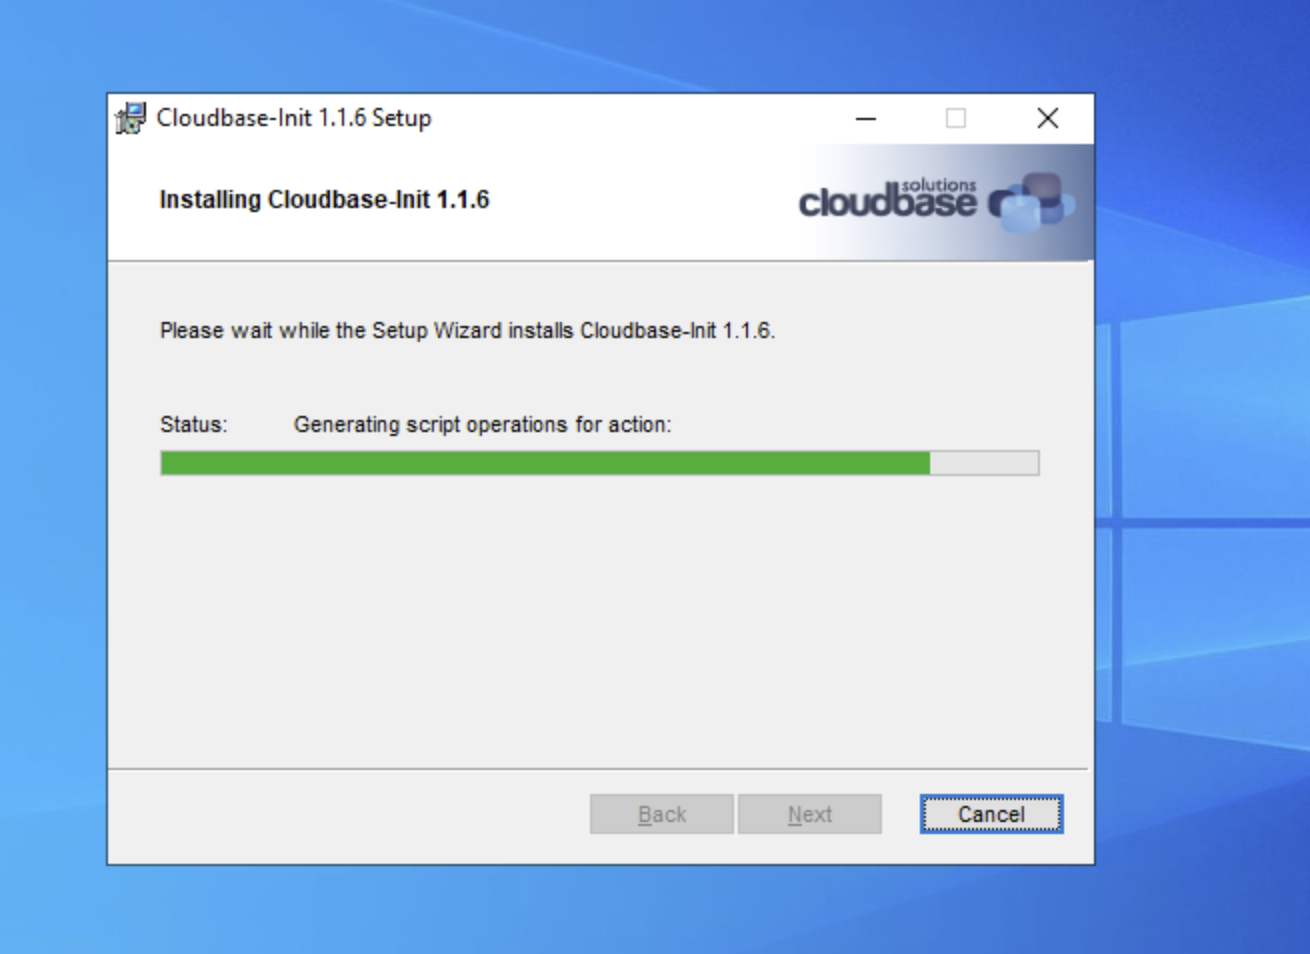
Start Installation
-
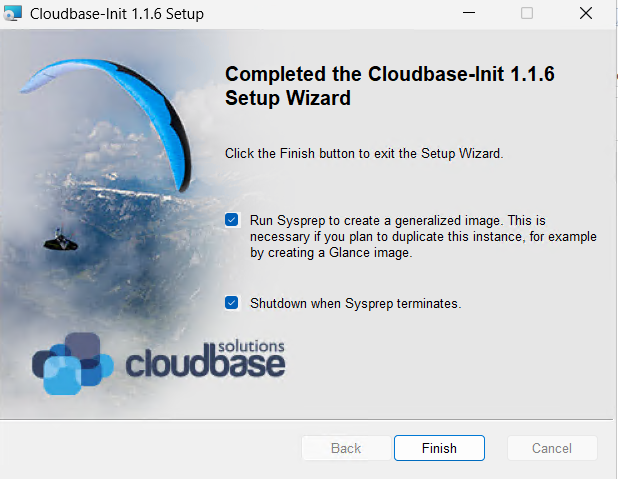
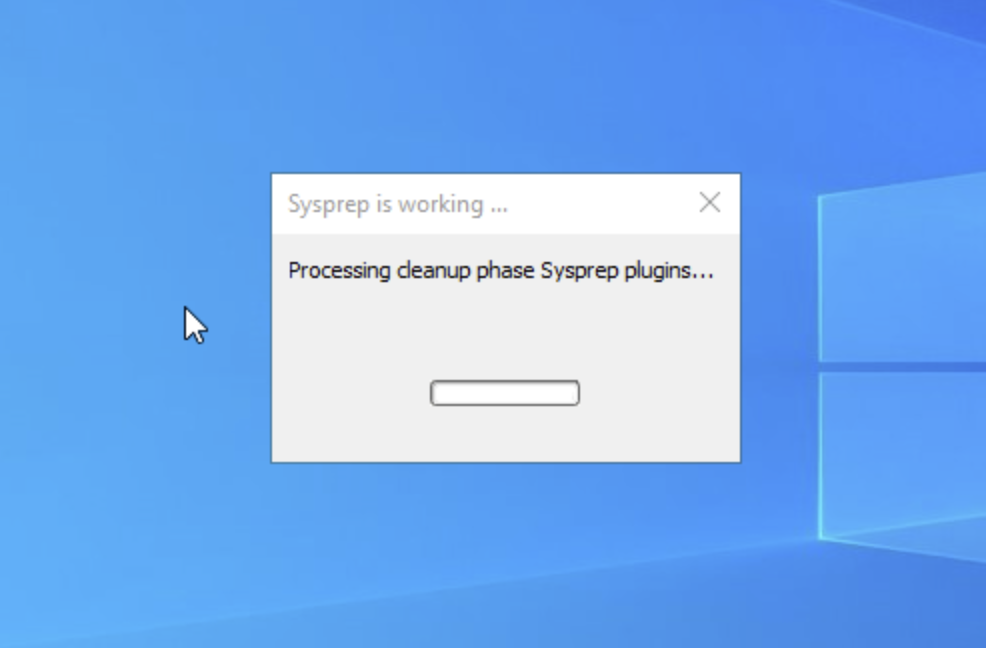
Finish installation and execute Sysprep (Sysprep ausführen)
-
Sysprep generalization is running
35. Image-Upload & VM Creation in STACKIT
After the local preparation is complete, the image is converted and transferred via STACKIT CLI.
36. Image Conversion (qCow2)
Convert the local VHDX into qcow2 format:
qemu-img convert -f vhdx -O qcow2 <Path_to_vhdx> <Path_to_qcow2>

#### 37. STACKIT CLI Login
Authenticate at the CLI:

```bash
stackit auth login
38. Image Upload
Upload the image to your STACKIT project:
stackit image create --name <win2025virtio> --disk-format=qcow2 --local-file-path="<path2qcow2>" -p <projectID>
39. Status Check
Check the upload progress and details:
stackit image list -p <projectID>
stackit image describe <imageID> -p <projectID>
Important: Take the generated
imageIDfrom the output. You must specify this ID as<image_id>in the next step to create the volume and the VM based on this image.
40. Provisioning (Volume & Server)
First create the volume and then start the VM:
Step 1: Create Volume
stackit volume create --availability-zone <AZ> \
--name <volumename> --source-id <image_id> \
--source-type image --size <GB> -p <projectID>
Step 2: Instantiate Server
stackit server create -n <servername> \
--availability-zone <AZ> --machine-type <machineType> \
--network-id <networkID> --boot-volume-source-id <volumeID> \
--boot-volume-source-type volume -p <projectID>
41. Image Sharing (Cross-Project)
Share the image for other Project IDs within the organization:
stackit curl -X PATCH -H "Content-Type: application/json" \
--data '{"projects": ["<ID1>", "<ID2>"]}' \
https://iaas.api.eu01.stackit.cloud/v1/projects/<PROJECT_ID>/images/<IMAGE_ID>/share
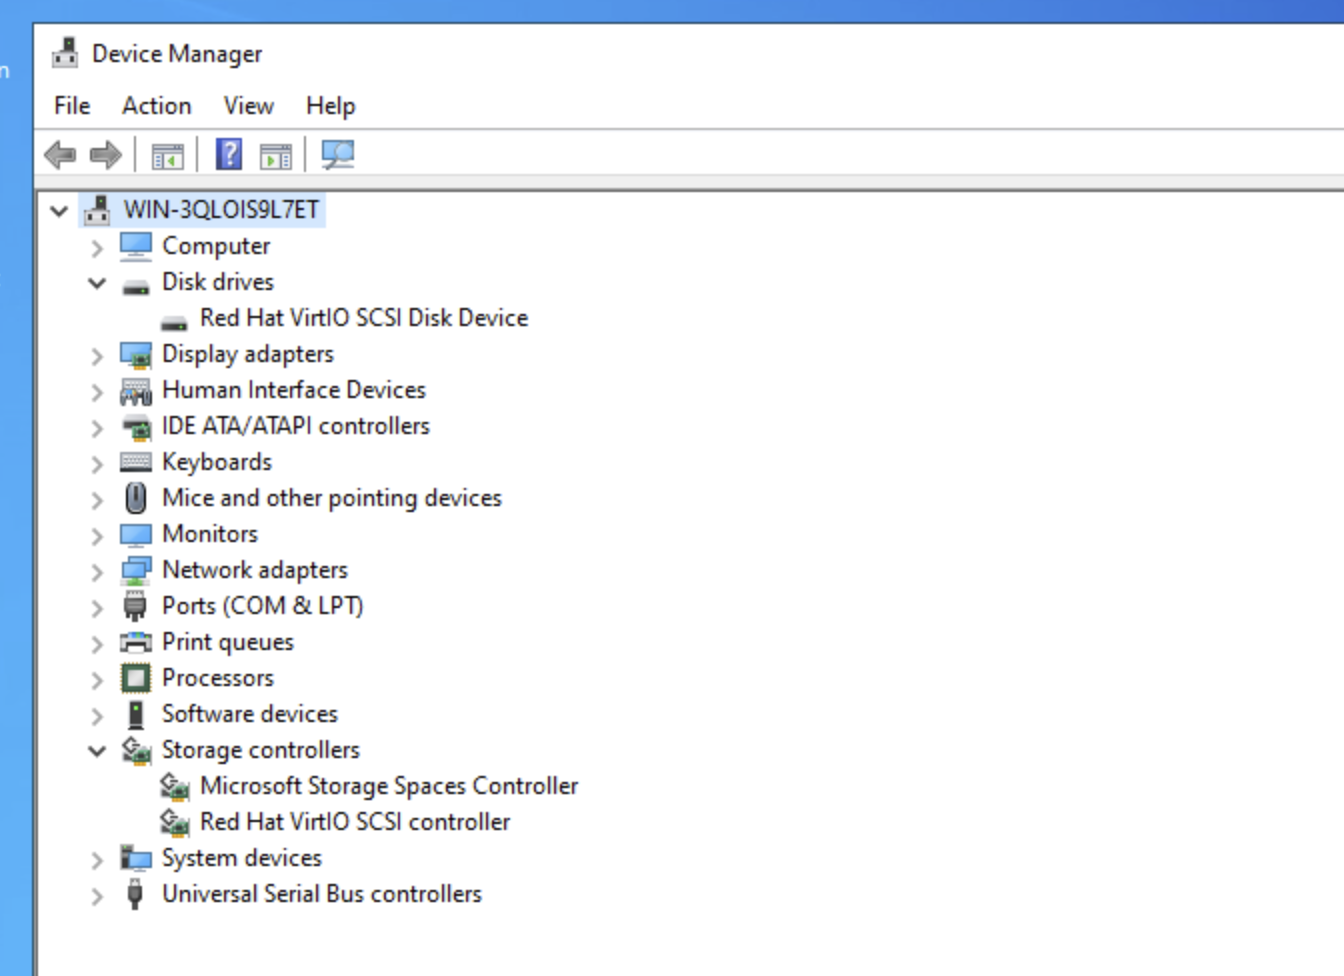
42. Completion
Check if all drivers are correctly loaded in the operating system. After starting the VM in STACKIT, check the Device Manager (Gerätemanager) to verify that all drivers have been loaded properly.
References: https://docs.stackit.cloud/stackit/en/create-a-windows-server-via-stackit-iaas-api-cli-98304598.html